ADVERTISEMENT
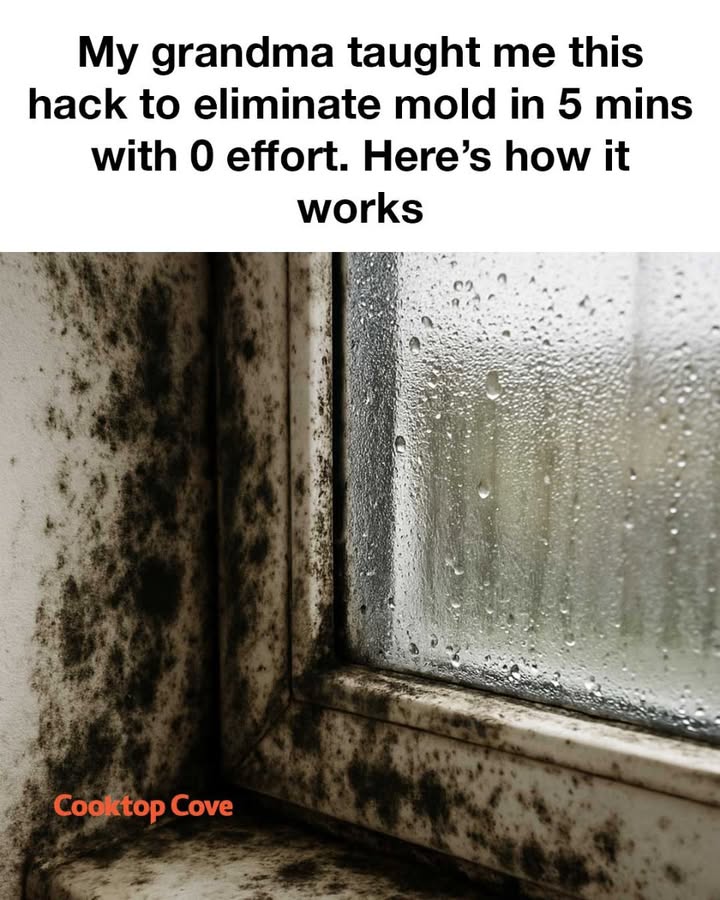
Pour the 3% hydrogen peroxide into a clean spray bottle. There’s no need to dilute it further, as this concentration is effective for mold removal. Make sure to label the spray bottle clearly to avoid any confusion with other cleaning solutions.
Shake the bottle gently to ensure the hydrogen peroxide is evenly distributed. It’s now ready to be applied to the mold-affected areas.
6. Applying Hydrogen Peroxide to Mold
Spray the hydrogen peroxide directly onto the moldy surface, ensuring it is thoroughly saturated. Allow the solution to sit for at least 10 minutes to penetrate the mold and kill the spores.
For larger areas, work in sections to ensure the entire surface is treated. Be careful not to oversaturate, as this can lead to water damage or encourage further mold growth.
7. Scrubbing Away the Mold
After allowing the hydrogen peroxide to sit, use a scrub brush to remove the mold from the surface. Apply firm pressure to ensure all mold is removed, taking care not to damage the underlying material.
Wipe the area with a clean cloth or sponge to remove any remaining mold residue. You may need to repeat the process for stubborn mold stains.
8. Proper Drying Techniques
Once the mold has been removed, it’s crucial to dry the area thoroughly to prevent future growth. Use a clean, dry cloth to wipe down the surface, and consider using a fan or dehumidifier to speed up the drying process.
Ensure the area is completely dry before replacing any furniture or items, as even small amounts of moisture can lead to mold returning.
ADVERTISEMENT
